HOW DO YOU REALLY KNOW THE DIMENSIONS OF AN O-RING?
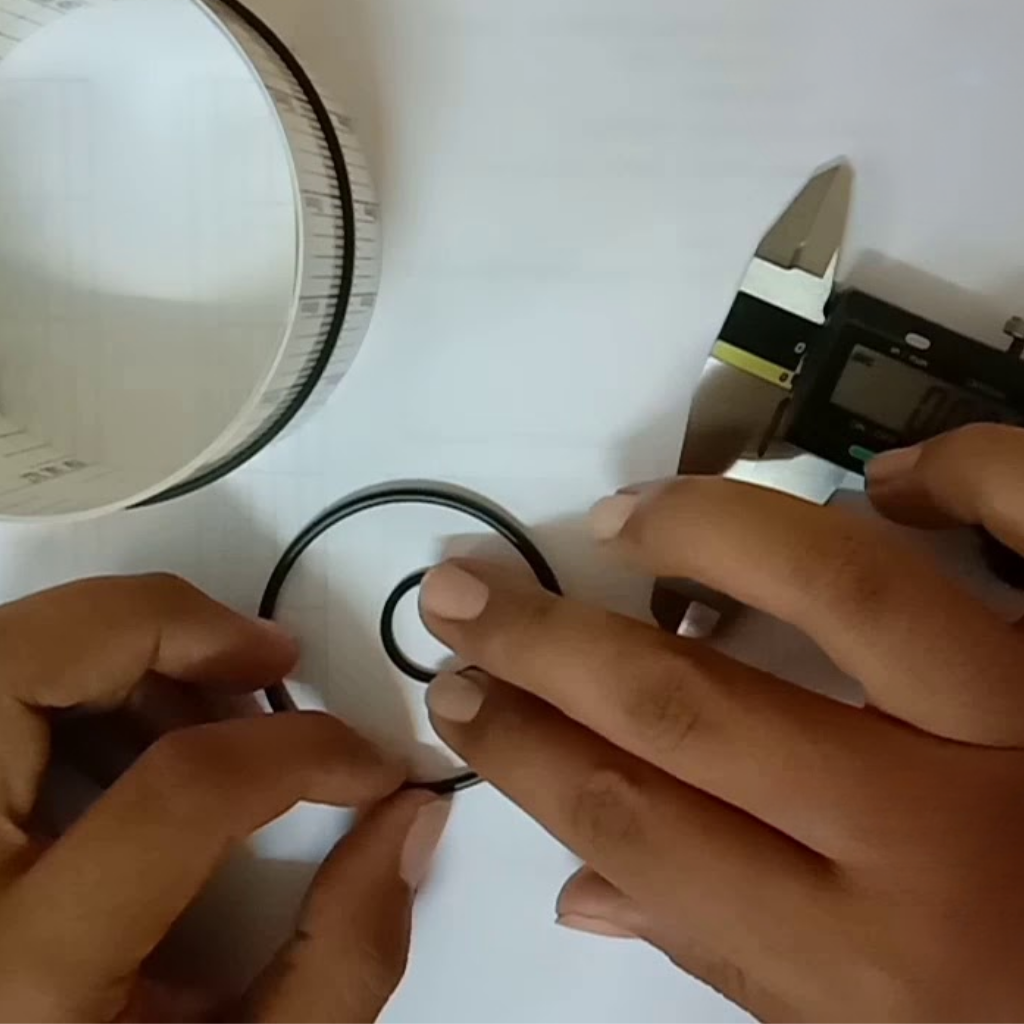
Determining the precise size of an O-ring, especially when it is large, can be difficult. While calipers are useful tools for measuring thickness, a complication arises when trying to determine the internal diameter (ID), especially when the ID exceeds 200 mm, since it is It is difficult to be sure of its accuracy and virtually impossible to verify with such a tool.
At OSN, we offer an effective solution by providing specialised cones that allow this information to be obtained quickly and accurately by simply inserting the O-ring into them. Although there are measurement cones available on the market with capacities up to 400 mm ID, it should be noted that these are a considerable investment if the measurement process is not carried out frequently.
Based on our extensive experience in the field, we have found that other measurement methods, such as the use of tape measures to be inserted into the ID, are often difficult to apply, although for some users they may be suitable.
In this context, it is important to note that there are two infallible methods to determine with certainty the actual size of an O-ring:
1.- Sizing the housing of the component where the O-ring is required to be installed represents a highly feasible and technically sound option. This methodology is distinguished by its simplicity and reliability, as the structures are made of solid and immovable materials. With this it is possible to easily obtain the key measurements, including internal diameter (ID), external diameter (OD) and thickness, required to accurately house the O-ring.
It is crucial to take tolerances into account during this process, ensuring that the O-ring ID is slightly smaller than the ID of the housing to ensure a tight and reliable seal. This consideration is critical to avoid potential leakage or seal failure.
While this option may require a more advanced level of technical expertise, it is undoubtedly the best choice to precisely meet the user's needs. It also allows application-specific aspects such as rotation or temperature to be taken into account, thus facilitating the selection of the most suitable material to ensure optimum performance under varying operating conditions.
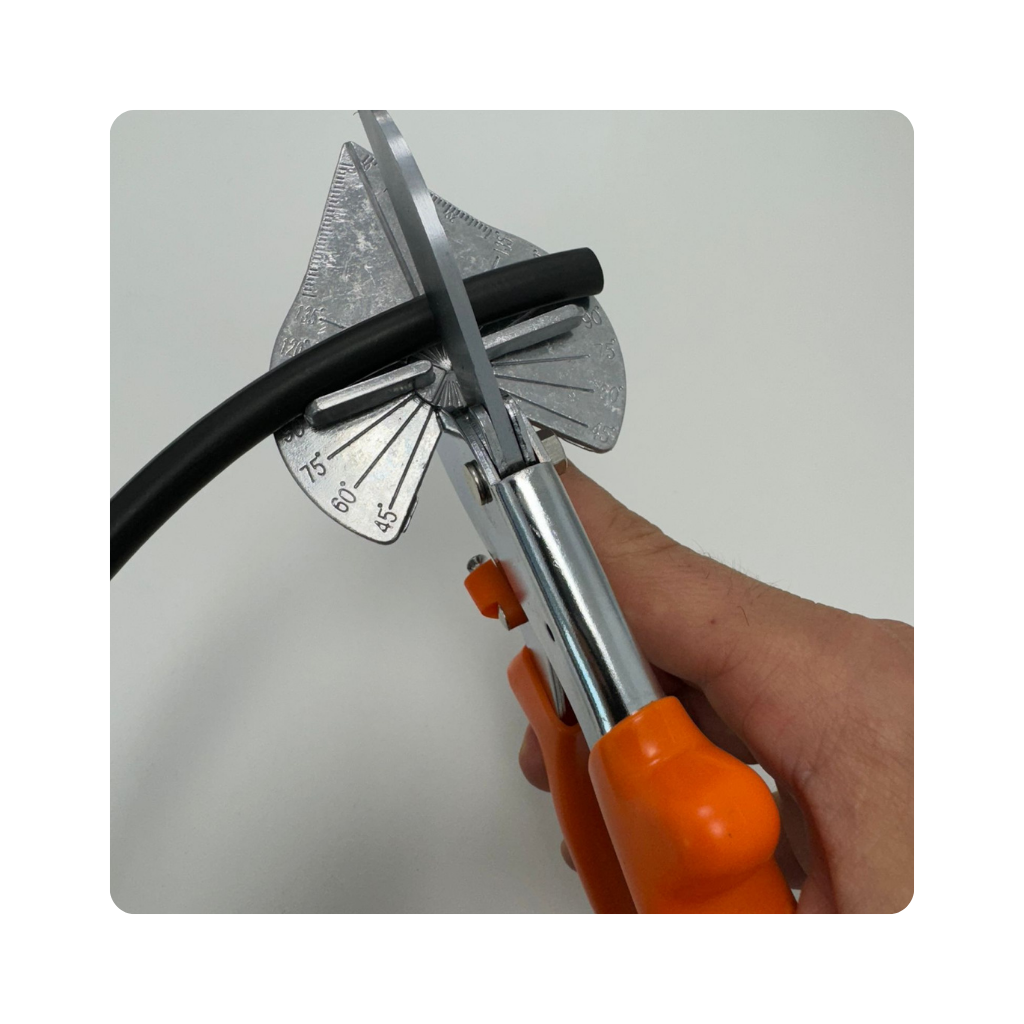
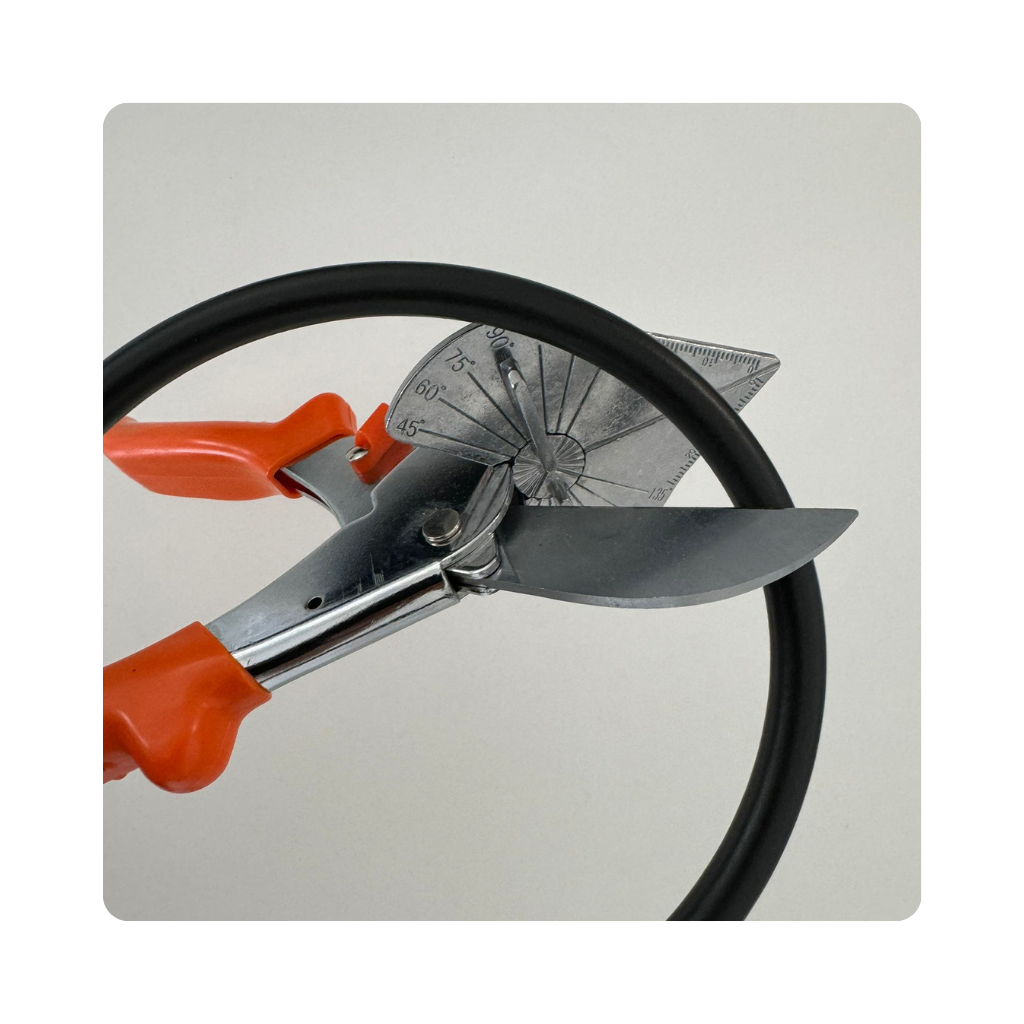
The second alternative is to cut the O-ring, especially in the case of considerable sizes. For those who have the capacity to implement this technique. The process is as follows:
- Thickness Check: Use a caliper to check the thickness of the O-ring.
- Straight Cut: With the thickness confirmed, proceed to make a straight cut in the O-ring.
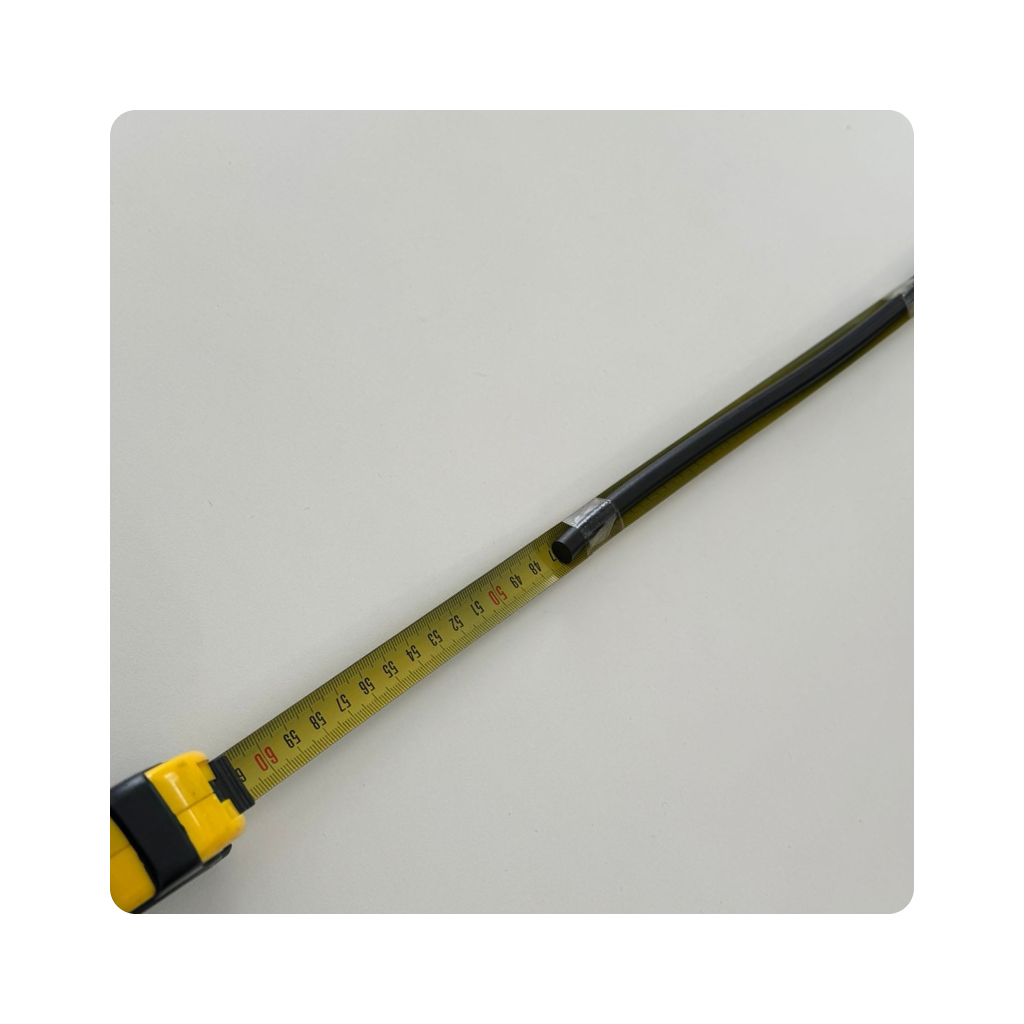
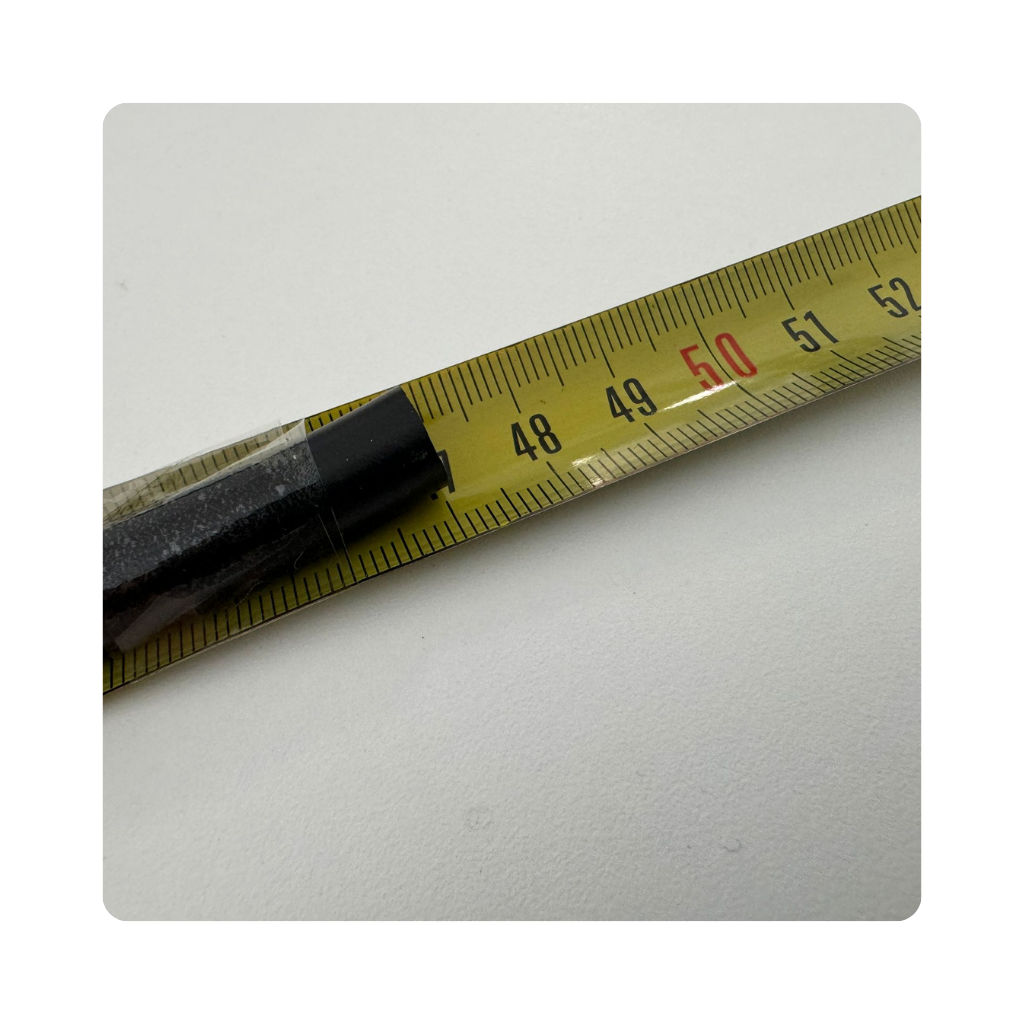
- Overall Length Measurement: Use a tape measure to measure the overall length of the O-ring.
- Fixing the O-ring: To ensure that the O-ring does not move during measurement, secure it to the tape measure with adhesive tape.
- Application of the Formula: Once you have obtained the total length and thickness of the O-ring, proceed to calculate the actual size using the following formula:
A -> Length ÷ 3.142 = Circumference.
B -> Circumference - Thickness = Internal Diameter (ID).
- Tolerance Consideration: It is essential to consider tolerances during this process to ensure accurate fit and effective sealing.
By following these steps meticulously and considering the corresponding tolerances, you will be able to accurately determine the actual size of the O-ring.
This technique offers a practical and reliable solution for those who have the ability to make precise cuts in the material.

