HOW TO fit a worn shaft repair sleeve
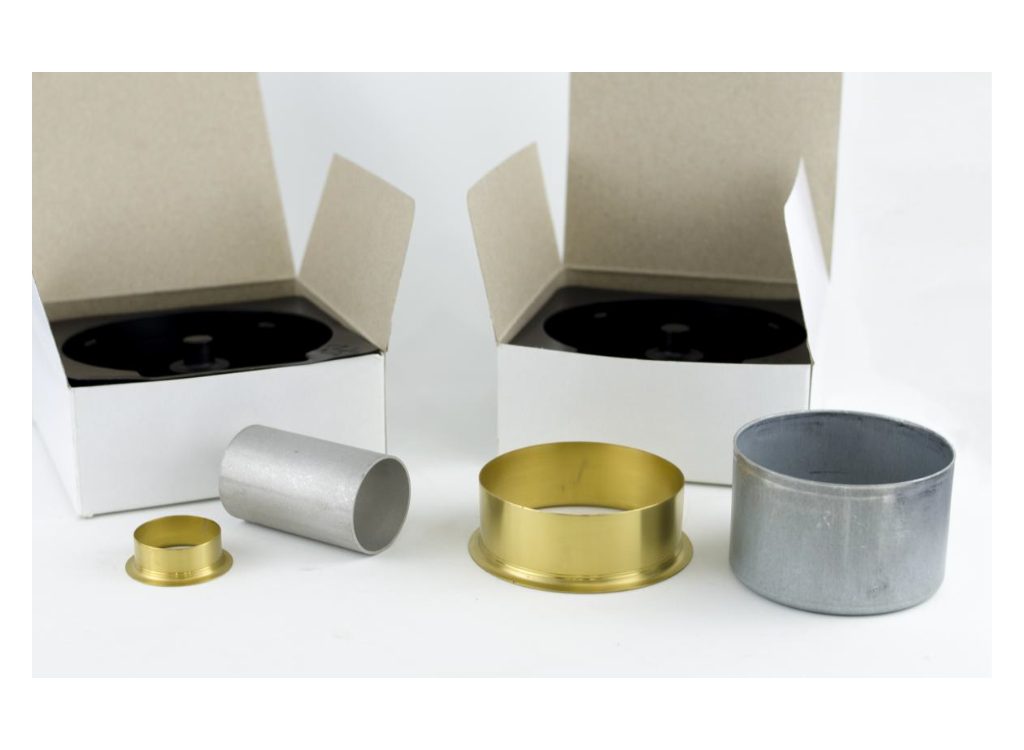
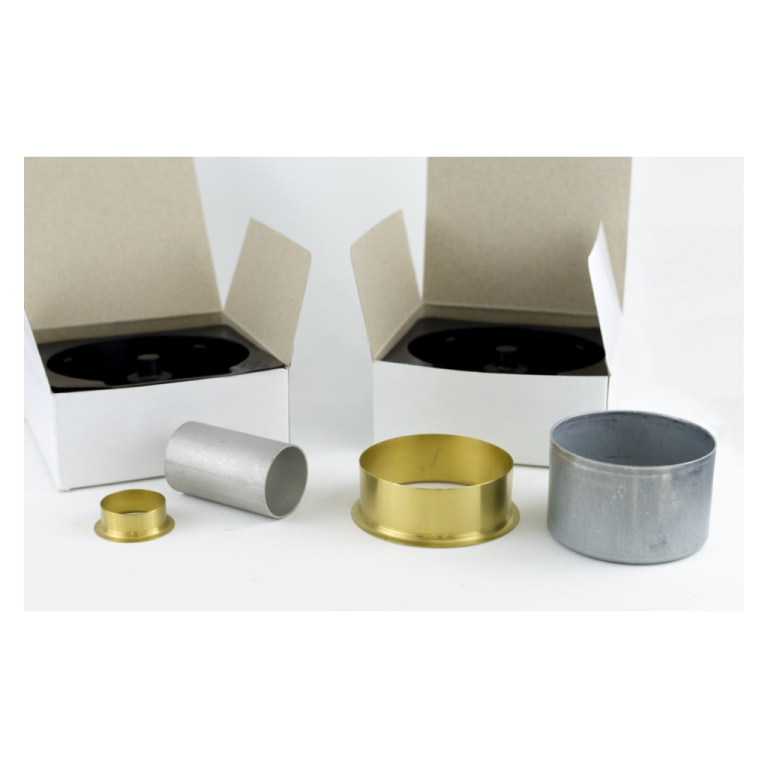
An easy, quick and inexpensive way to repair and protect worn shafts.
CHARACTERISTICS:
- Simple and quick installation
- Cost savings: no need to re-machine the shaft or to replace it with a new one.
- Thin wall design allows the same retainer to be used; no need to change size
- Precise surface finish obtained by advanced surface grinding technology in
depth
- Manufactured from stainless steel with a high degree of surface hardness to ensure abrasion resistance
INSTRUCTIONS
1. Clean the worn shaft and remove any burrs.
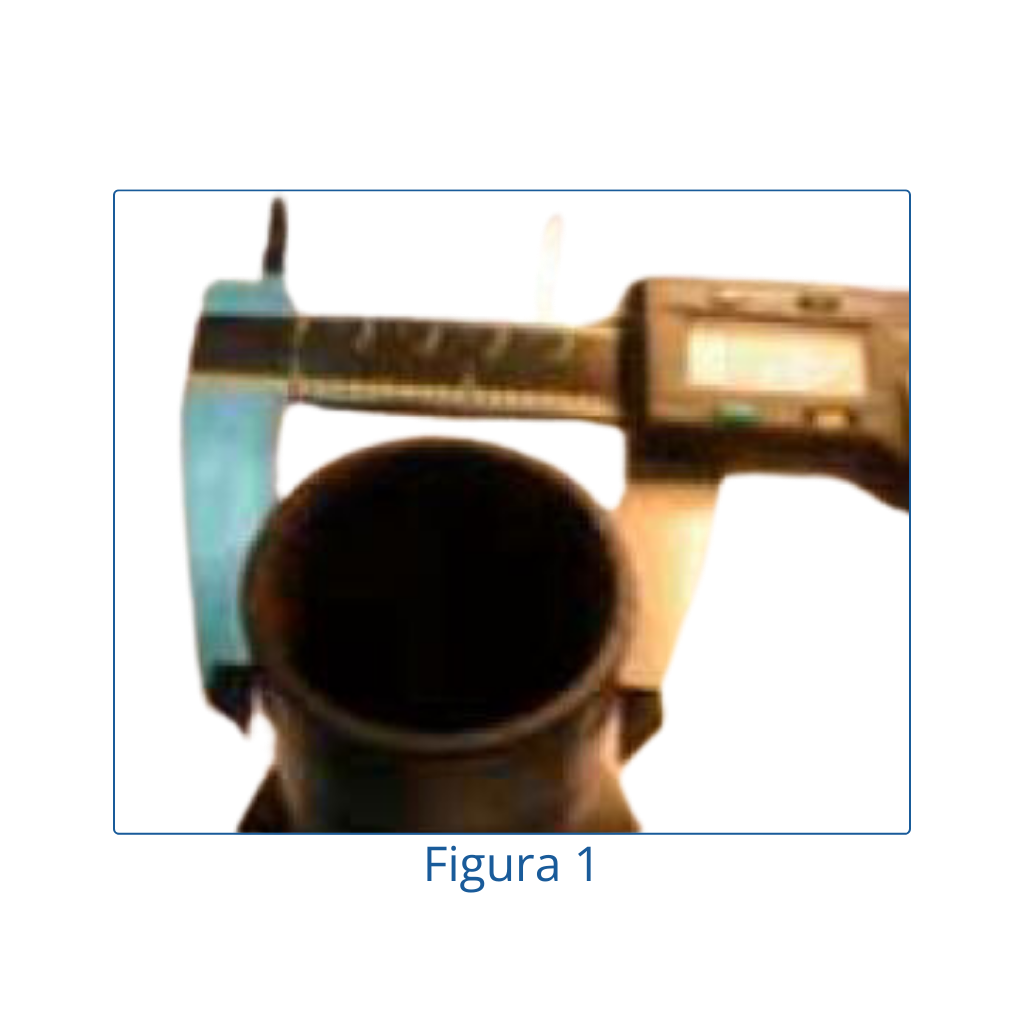
2. Measure the diameter of the shaft and choose the size of the sleeve (Figure 1).
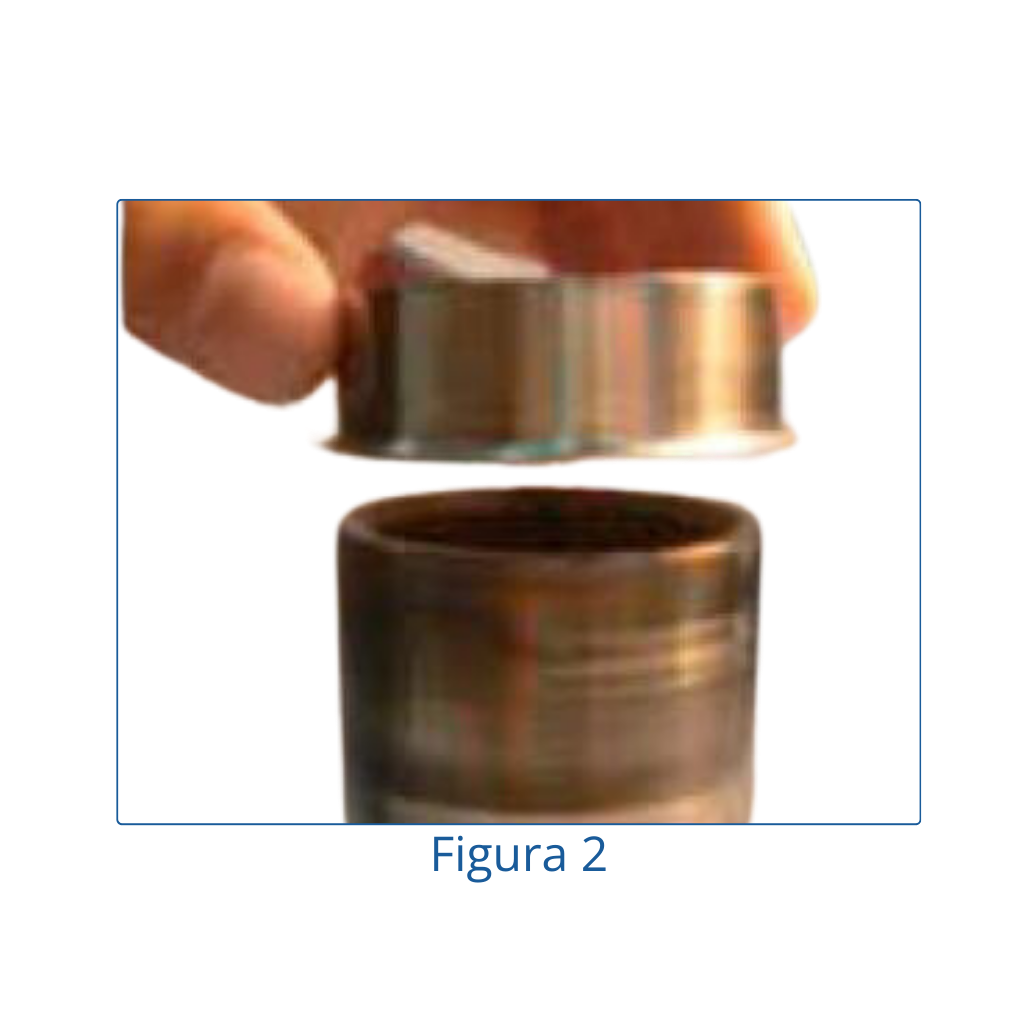
3. Fit the sleeve to the top of the shaft (Figure 2).
4. Place the mounting tool on the sleeve. If the tool supplied with the The sleeve is too short; a longer length of pipe can be substituted.
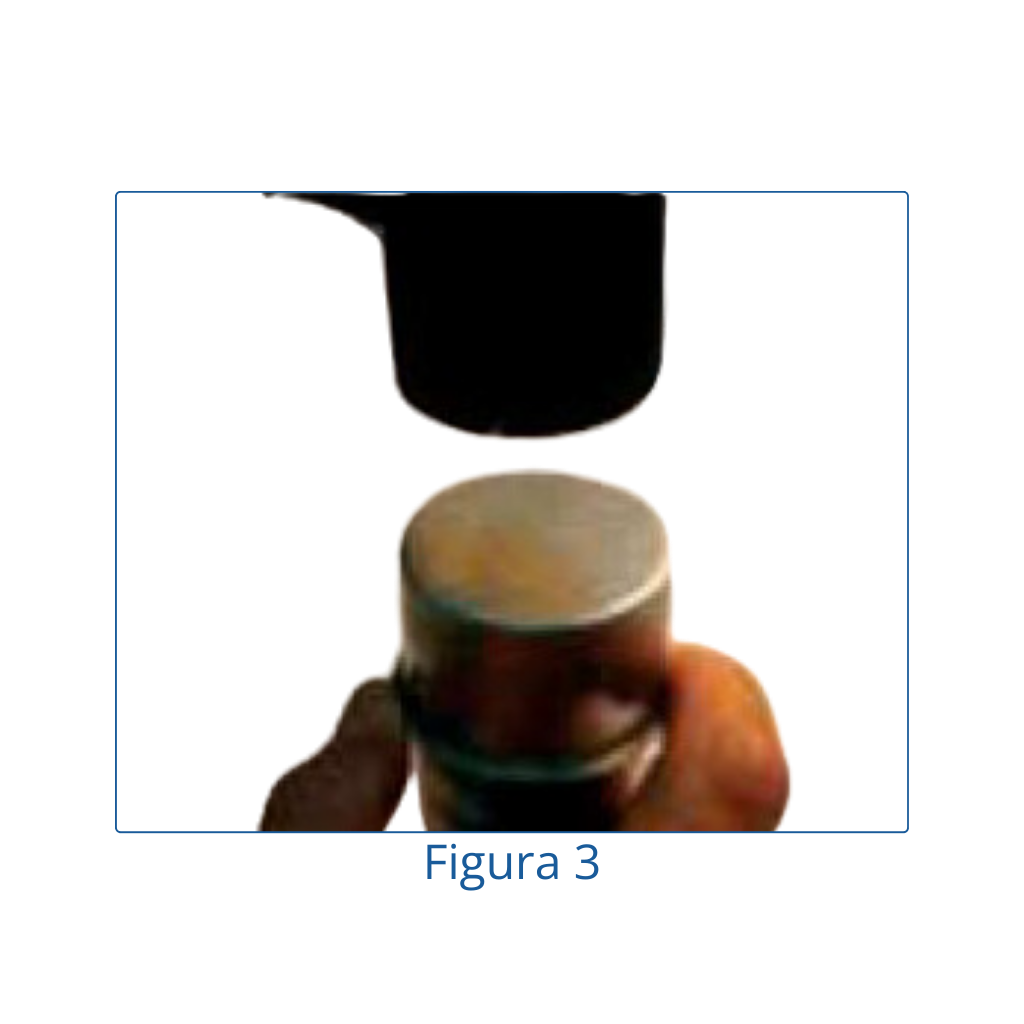
5. Gently tap the mounting tool until the abraded area is covered by the sheath (Figure 3).
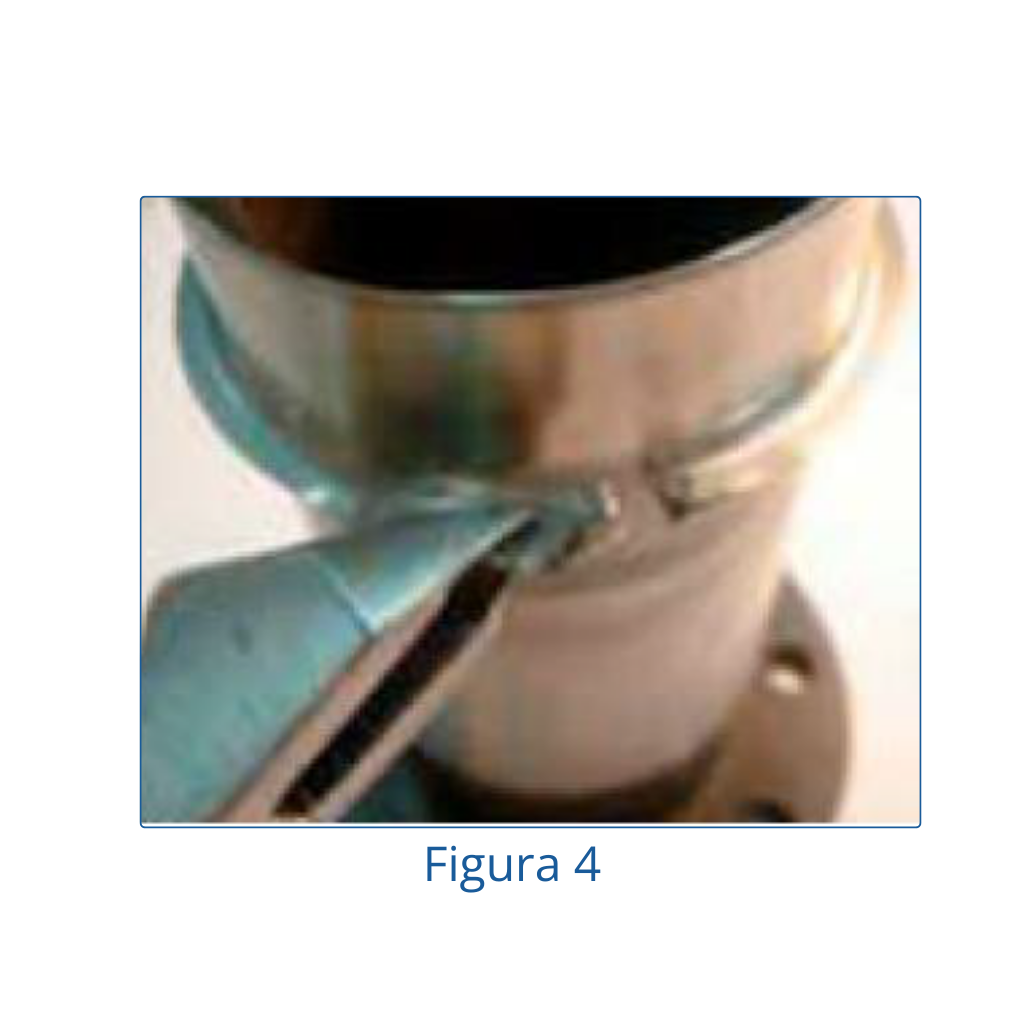
6. The sleeve flange may be retained unless the application requires the clearance. If it is to be removed, a pre-cut must be made in the sleeve flange before step 4 and the pre-cut must be finished by breaking the groove. The pre-cutting must be done carefully to avoid damaging the contact surface of the retainer (Figure 4).
7. Check again if there are any burrs on the The sleeve may damage the seal.
8. Lubricate the sleeve
DISASSEMBLY OF THE SHAFT SLEEVES
The protective sleeves can be removed from the shaft in different ways:
A. It can be easily removed from the shaft by heating without damage.
B. With controlled hammer blows with the hammer tap on the width of the sleeve, the sleeve widens and can be easily removed.
C. Remove the protective sleeve from the shaft using diagonal cutting pliers.
D. Cut the protective sleeve of the shaft with a chisel.

