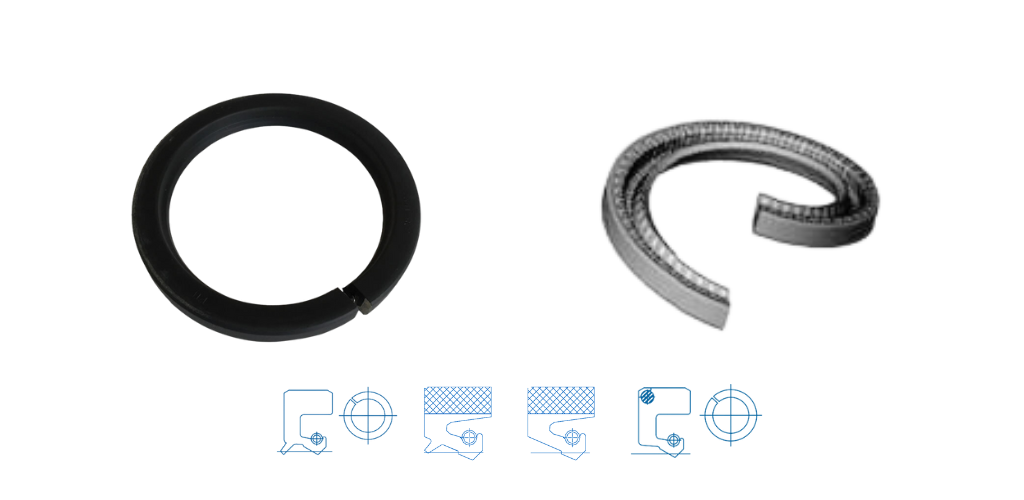
What are the split seals?
Split shaft seals are ingenious devices designed to effectively seal the space between a rotating shaft and its housing, preventing leakage of liquids, gases or dust. Their unique design includes a split in the sealing element, which greatly simplifies their installation without compromising their effectiveness.
Installing OSN split seals is a simple and efficient process that does not require the removal of additional components. With our wide range of high quality products, maximising the performance of your equipment has never been easier.
Advantages of OSN split oil seals:
- Ease of installation: Thanks to their split design, OSN split oil seals are quick and easy to install, minimising downtime and maintenance costs.
- Reliability: Manufactured from high quality materials and subjected to rigorous quality controls, our split seals ensure long-lasting and reliable sealing in a variety of industrial applications.
- Versatility: Available in a wide range of sizes and materials, our split seals are tailored to the specific needs of your equipment, providing a customised solution for every application.
At OSN, we are committed to engineering excellence and product quality. With our split shaft seals, you can be confident that your equipment will perform optimally, maximising productivity and extending its service life. Discover the difference OSN split shaft seals can make to your industrial operations today!
Steps for a successful installation:
1. Before starting, make sure that the equipment meets the specific requirements (shaft and bore diameter) for the installation of OSN split oil seals.
2. Remove any burrs or debris from the shaft edges as well as the shaft housing to ensure a perfect fit.
Apply a thin layer of lubricant to the shaft to facilitate installation of the seal. Ask our technicians which OSN lubricant is most suitable for your equipment.
4.Open the OSN split seal (see figure 1) and place it around the shaft, making sure that the split is at the top of the shaft (12 o'clock) for maintenance of the structural integrity of the seal as well as prevention of leakage.
Starting at the split ends, insert the retainer into the housing, making sure that the ends of the retainer are touching (see figure 2).
6.Compress the front edge of the ropes, to install it in the housing. Work downward on both sides, gently compressing the retainer to seat it properly in the housing.
Gently tap the retainer with a mallet on a block of wood, or other material, to secure it in place, avoiding damage to both the retainer and the equipment.
(see figure 3)
8.Once the retainer is properly seated in the housing, it should protrude from the housing surface by 0.381 mm (see Figure 4) 0.015 inch.
This protrusion is built into the width of the retainer, allowing for compression.
9.Compress the retainer into the housing by screwing the cover plate firmly into position (see figure 5 and 6).
10.When replacing a conventional seal with a split seal, and the depth of the gap is greater than the thickness of the split seal, use filler gaskets or a split metal washer to fill the gap.
12.When installing a split seal on the end of a plain or sleeve bearing, be sure to leave a drain or vent between the seal and the bearing to prevent excess pressure.


